WeasyPrintでPDF出力するまでの環境構築(Django/Amazon Linux)
- 前書き
- 参考にさせていただいたリンク
- Amazon Linuxの立ち上げ
- 必要なライブラリのインストール
- 必要なコードの作成とPDF出力
- 文字化けへの対応
- フォントの変更
- 補足: FileResponse
前書き
サーバーサイドからPDFを出力する機能をDjangoで作成することになりました。その際、 thinkAmiさんからWeasyPrintを教えていただきました。本記事は、WeasyPrintを使ってDjango/Amazon Linux環境から、PDFを出力する際に必要な設定をまとめたものです。
参考にさせていただいたリンク
Installing — WeasyPrint 51 documentation
Django2.0 + WeasyPrint でお手軽にPDF出力 - Qiita
Amazon Linuxの立ち上げ
必要なライブラリのインストール
前準備
$ sudo yum update -y
$ sudo yum install gcc
$ sudo yum install python3
WeasyPrintを動かすための準備
$ python3 -m venv env
$ source env/bin/activate

# WeasyPrint自体はpipでインストールできます。
$ pip install WeasyPrint

# 依存ライブラリをインストールします。
$ sudo yum install cairo
$ sudo yum install pango
$ sudo yum install gdk-pixbuf2

# 以下が動けば成功です!(WARNINGは気にしなくてOKです。適応できなかったCSS由来がほとんどです。)
$ weasyprint http://weasyprint.org ./weasyprint-website.pdf
- Django のプロジェクトを立ち上げます。
# sqliteを入れるのに必要です。
$ sudo yum install expect

# sqliteを入れます。
$ wget https://www.sqlite.org/src/tarball/sqlite.tar.gz?r=release
$ tar xzf sqlite.tar.gz\?r\=release
$ cd sqlite
$ ./configure --prefix=/usr/local
$ make
$ sudo make install
$ export LD_LIBRARY_PATH="/usr/local/lib"

# Djangoのproject立ち上げます。
$ pip install Django
$ django-admin startproject config .
$ python manage.py startapp cms
$ python manage.py migrate
必要なコードの作成とPDF出力
PDFを出力するViewとTemplates
cms/views.py- 基本的に、HTMLのstringをテンプレートエンジンを用いて作成し、HTMLクラスのstring引数に渡してインスタンス化し、write_pdfメソッドを呼ぶだけです。
- 詳しくは、最後の項目「補足」を参照してください。
import io
from django.template.loader import render_to_string
from weasyprint import HTML
from django.http import FileResponse


def pdf_export(request):
    html_string = render_to_string(
                    "cms/weasy_print_test_template.html",
                    context={'name': 'SIA', 'value': 'PITA'},
                    request=request)
    writer = HTML(string=html_string)
    pdf_file = writer.write_pdf()
    stream = io.BytesIO(pdf_file)
    response = FileResponse(stream)
    return response
config/settings.py- installed appにcmsを追加しないと、templatesを探索できないので注意。
cms/templates/weasy_print_test_template.html
INSTALLED_APPS = [
    'cms.apps.CmsConfig',
# .....
]
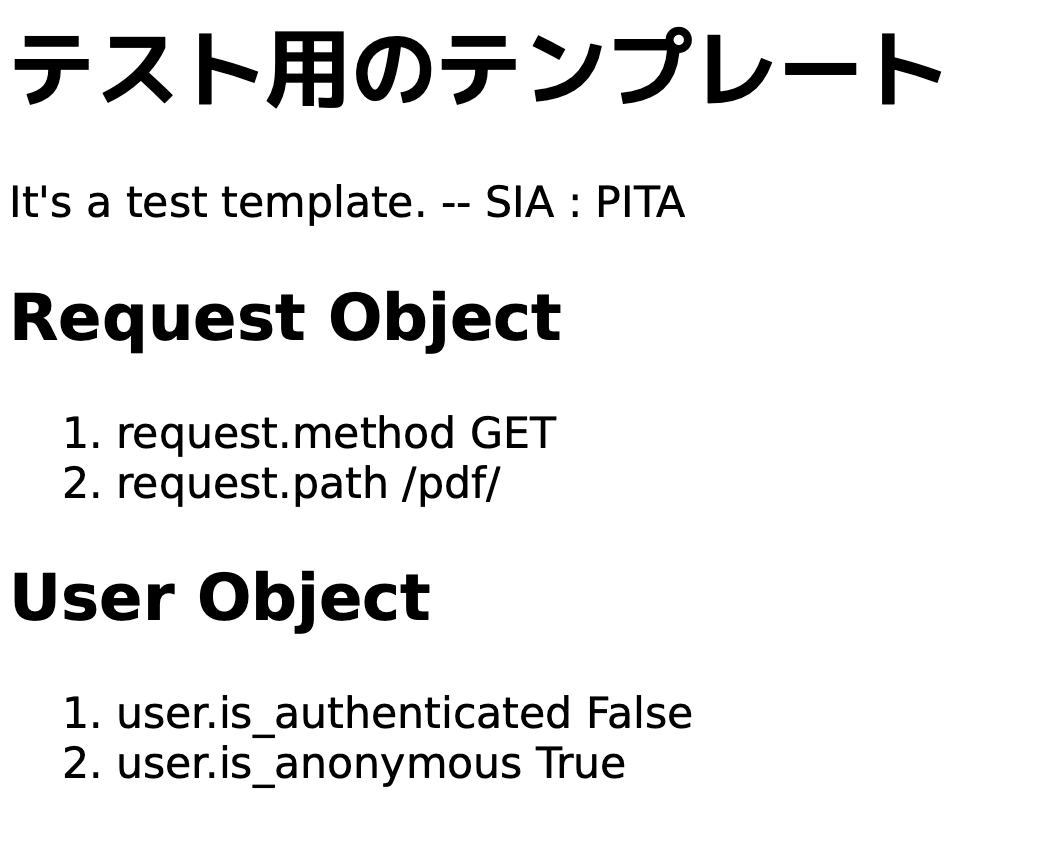
<h1>テスト用のテンプレート</h1>
<p>It's a test template. -- {{ name }} : {{ value }}</p>
<h2>Request Object</h2>
<ol>
  <li>request.method  {{ request.method }}</li>
  <li>request.path {{ request.path }}</li>
</ol>
<h2>User Object</h2>
<ol>
  <li>user.is_authenticated {{ user.is_authenticated }}</li>
  <li>user.is_anonymous {{ user.is_anonymous }}</li>
</ol>
- urlのルーティング
config/urls.py
from django.contrib import admin
from django.urls import path, include

urlpatterns = [
    path('admin/', admin.site.urls),
    path('', include('cms.urls')),
]
cms/urls.py
from django.urls import path
from cms.views import pdf_export


app_name = 'cms'
urlpatterns = [
    path('pdf/', pdf_export),
]
確認
- EC2のinbound ruleに、自分のIPアドレスをポート8000で登録しておきます。
- あまり良くないですが、テストということで以下を実行してアクセスします。
$ python manage.py runserver 0:8000
アクセス
自分のEC2へのURL:8000/pdf/
- 以下の様なものが出力されるはずです。

文字化けしています。これを直しましょう。
文字化けへの対応
$ fc-list
/usr/share/fonts/dejavu/DejaVuSansCondensed-Oblique.ttf: DejaVu Sans,DejaVu Sans Condensed:style=
Condensed Oblique,Oblique
/usr/share/fonts/dejavu/DejaVuSansCondensed-Bold.ttf: DejaVu Sans,DejaVu Sans Condensed:style=Con
densed Bold,Bold
....(略)
日本語フォントのインストール
- 今回はこれを使わせていただきます。
- M+ FONTS | JAPANESE
上記のフォントを配布してくださっているページに以下の様に記述があるので、それに従ってインストールします。
公式配布サイト https://osdn.net/rel/mplus-fonts/TESTFLIGHT より、最新版の mplus-TESTFLIGHT-*.tar.xz ファイルをお選びください。ファイルの展開は Unarchiver (macOS)、7-Zip (Windows)などのフリーソフトウエアが対応しています。
フォントのインストールは、/usr/share/fonts にダウンロードして解凍したフォントをおくだけです。lsしてみると、先ほどfc-listで確認したフォントがまとまっているのがわかります。fonts直下にdefavuディレクトリがあり、その中にttfファイルが入っている感じです。
$ cd /usr/share/fonts
$ sudo wget https://osdn.net/dl/mplus-fonts/mplus-TESTFLIGHT-063a.tar.xz
$ sudo xz -dc mplus-TESTFLIGHT-063a.tar.xz | sudo tar xfv -
$ sudo rm -rf mplus-TESTFLIGHT-063a.tar.xz
もういちど、runserverしてアクセスします。
いいかんじですね。
フォントの変更
せっかくなのでフォントを変えてみます。 先ほど日本語フォントを1種類だけ入れたので、勝手にそれが当てられているようですが、WeasyPrintはCSSとしてフォントを指定することができます。
cms/views.py- 基本的に、HTMLのstringをテンプレートエンジンを用いて作成し、HTMLクラスのstring引数に渡してインスタンス化し、write_pdfメソッドを呼ぶだけです。
- Release sawarabi-gothic 20161015 - Sawarabi Fonts - OSDN
- 使用したフォントはこちら。
import io
from django.template.loader import render_to_string
from weasyprint import HTML, CSS
from django.http import FileResponse


def pdf_export(request):
    html_string = render_to_string(
                    "cms/weasy_print_test_template.html",
                    context={'name': 'SIA', 'value': 'PITA'},
                    request=request)
    writer = HTML(string=html_string)
    pdf_file = writer.write_pdf(
    # Sawarabi Gothicを指定。
        stylesheets=[CSS(string='body { font-family: Sawarabi Gothic;}')]
    )
    stream = io.BytesIO(pdf_file)
    response = FileResponse(stream)
    return response

フォントの変更ができました。
補足: FileResponse
この部分は、通常のHttpResponseで書くこともできます。
response = HttpResponse(
    content=pdf_file,
    content_type='application/pdf')
FileResponseを使った場合の利点は
- ファイルサイズが巨大な時、分割してダウンロードすることでタイムアウトを防ぐことができます。
- ダウンロードするファイル名や方法の指定がスマートです。
1については下記のドキュメントをご参照ください。 2については、HttpResponseと比べると以下の様になっています。
FileResponseの場合
# PDFファイルをブラウザに表示する(firefox)
response = FileResponse(stream, as_attachment=False, filename='t.pdf')

# PDFファイルをダウンロードし、開くか保存するかを選択するダイアログを表示する(firefox)
response = FileResponse(stream, as_attachment=True, filename='t.pdf')
HttpResponseの場合
response = HttpResponse(
    content=pdf_file,
    content_type='application/pdf')


# PDFファイルをブラウザに表示する(firefox)
response['Content-Disposition'] = 'inline; filename="test.pdf"'

# PDFファイルをダウンロードし、開くか保存するかを選択するダイアログを表示する(firefox)
response['Content-Disposition'] = 'attachment; filename="test.pdf"'
HttpResponseでは、PDFファイルのブラウザによるContetn-Dispositionの振る舞いについてヘッダを直接セットする必要がありますが、FileResponseは引数によってより自然に指定可能です。 PDFファイルのサイズが大きくなる場合も想定されるので、FileResponseを使った方が良いのではないかと思います。
- FileResponseの使い方については、公式ドキュメントの以下の部分が参考になります。
Request and response objects | Django documentation | Django
Outputting PDFs with Django | Django documentation | Django
- 大きなファイルのダウンロードについては、公式ドキュメントの以下の部分が参考になります。